
Using Fetch 3.03
The following is an example of using Fetch to upload files to your web
directory.
Note: The examples in this document reflect an old server name.
Please substitute the server name "king.halcyon.com" wherever "coho.halcyon.com"
is used.
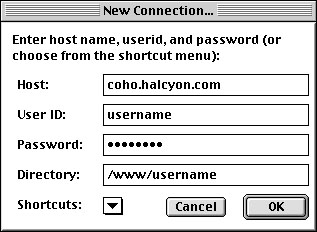
When you open Fetch, fill in your appropriate user information in a screen
which opens like this:

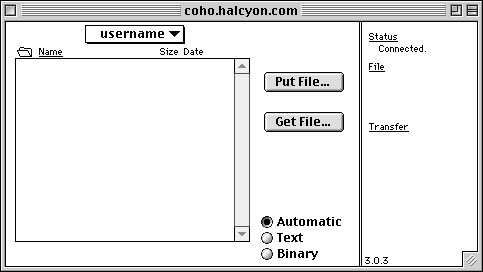
Once connected, the screen changes to as shown below. Go ahead and use
the Get and Put buttons to transfer data. Binary mode
should be chosen first, then when it asks about text and data, choose
RAW DATA. To upload multiple files at once, go to the Remote Menu
and choose Put Files & Folders. Then you can Add a bunch a files to
a list, then upload them all in one effort.

To manually CD (change directory) to move to another folder, go to the
Directories Menu and choose Change Directory. Then you can type ~username
to go to your home directory, or /www/username to go to your web
directory:

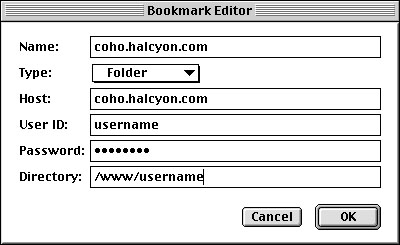
Finally, a good time saver is to create a shortcut for your connect. When
Fetch loads the next time, you can immediately select it and not have to
fill all this information out again. Once connected, go to the Customize
Menu, and select New Shortcut. A screen like this should appear:


![]()


